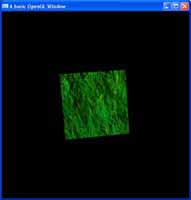
 The next step in the quest for realism after lighting, comes in the form of texturing. Texturing is the art of drawing an image on top of a 3D object and is the core behind all 3D applications. Could you imaging Half Life 2 coming out, and the characters looked like store mannequins?
Tutorials
The next step in the quest for realism after lighting, comes in the form of texturing. Texturing is the art of drawing an image on top of a 3D object and is the core behind all 3D applications. Could you imaging Half Life 2 coming out, and the characters looked like store mannequins?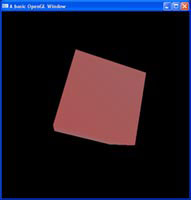 Just like there are different types of lighting in OpenGL, we also have different types of fog for different effects. Learn how to use them in this tutorial.
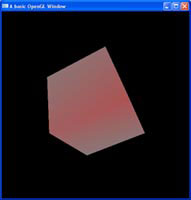 Ever notice how on a clear day, your visibility seems to go on for miles, but when the weather changes, a nice misty fog may come over, and your vision can be reduced to virtually nothing? Well OpenGL has it's own fog system we can take advantage of if we wish to re-create this natural effect.
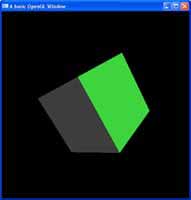 OpenGL provides us with not one, but three different types of lights we can make, directional lights, point lights and spot lights. I will try to teach you about how each is different, and how to use them.
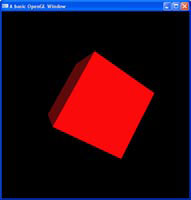 Now you have your scene looking a little nicer with some lighting, but all objects are a gray colour. Here we will learn how to assign materials to shapes to change how they look under different lighting conditions.
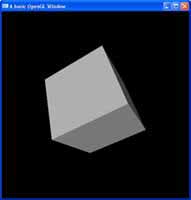 Flatly colouring shapes is perfect, if we want an unrealistic look to our scene. But for realism, we really want to add some sort of lighting system. You can learn here how to use OpenGL's lighting system for a more realistic scene.
 Drawing shapes is fine, moving them about is fine. But do you always want a shape to be the same size? Are all tree's the same height? Of course not. Here I will show you how to scale your 3D shapes.
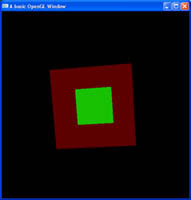 Colours can be mixed and matched in OpenGL, just like in real life. Here you will learn how to blend shapes using OpenGL, allowing you to overlay shapes on top of each other to get the most realism you can.
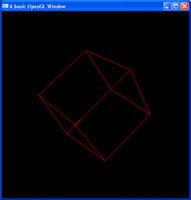 While single buffering still displays our final image, it can cause artifacts. Double buffering lets us draw everything in a second buffer, and when finished, lets us transfer it to the screen for a smoother application.
 Placing objects in a 3D scene is nice, but often enough, you want to be able to move and interact with these shapes. Here you will learn how to rotate them with a single command.